
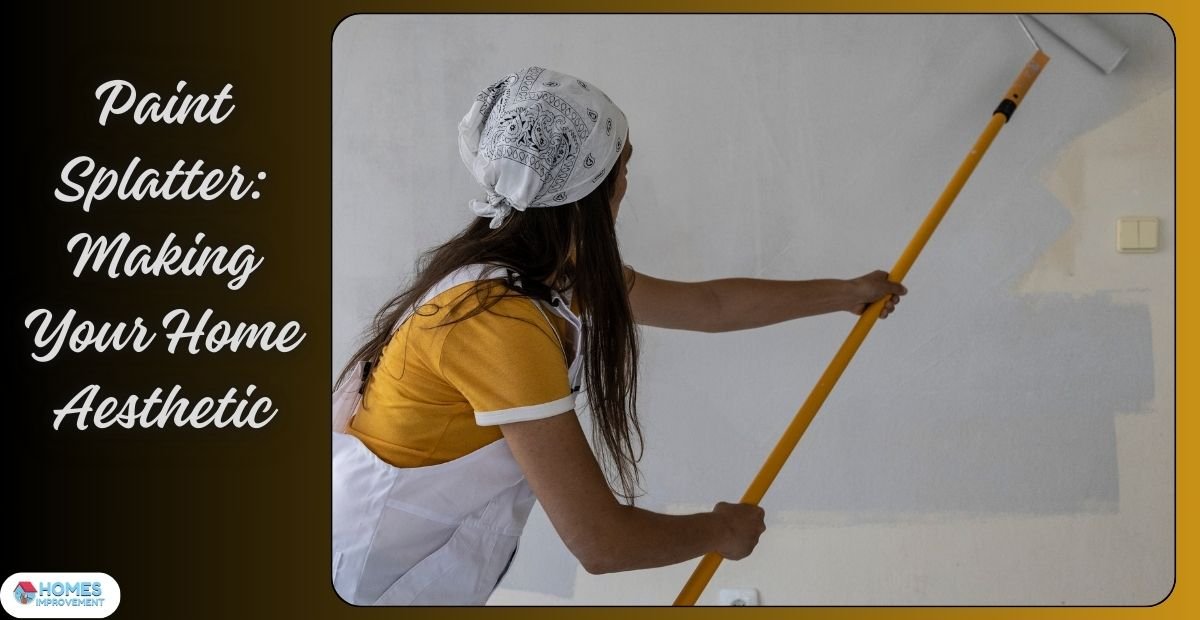
Painting is an essential part of interior decoration, and one way to give your home and room creative is by using paint splatter. This technique brings life, excitement, and uniqueness into spaces. If you want to make sure your house looks its best, this detailed article will take you step-by-step through everything you need to know about paint splattering from start to finish.
What is Paint Splatter?
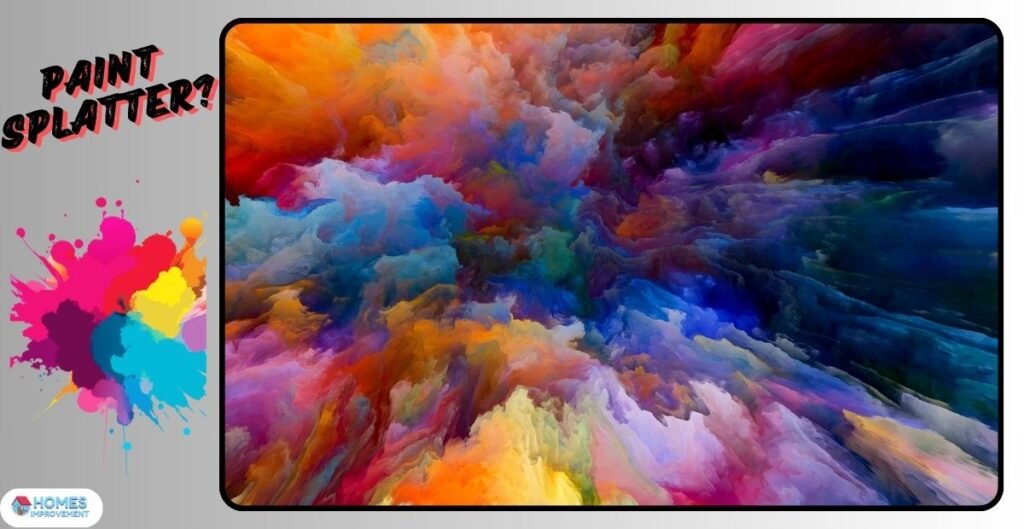
Splatter painting describes throwing, dripping, or spraying paint onto a surface to create a random and dynamic pattern. This method is known for its spontaneity and expressiveness in contrast to more traditional deliberate and precise painting techniques. It can be used on various surfaces like walls, furniture, and decorative items, making it great for home decoration.
History and Evolution
In the mid-1900s, paint splattering became more popular when artists like Jackson Pollock began working in the Abstract Expressionist style. This movement rejected traditional painting rules to represent movement and emotion rather than precise form or structure. Pollock’s paintings involved energetic and random paint spills, showing that sometimes the art-making process can be just as necessary as the finished piece.
Benefits of Paint Splatter
- Unique Aesthetic: Every splatter pattern is different, so your décor will be too.
- Versatility: It can be used on many different surfaces, such as walls, furniture, canvas, or other ornaments you want to decorate with. Moreover, it would fit any setting.
- Easy to Execute: With little prior knowledge, even total beginners should get excellent results reasonably quickly.
Planning Your Project
Choosing the Right Space
Before beginning, contemplate what the room is used for and its current decor. Spaces with traffic or focal points, such as accent walls, make great locations for splatter paint projects. This lively technique can benefit even bathrooms, bedrooms, and living rooms. Consider the splatter’s application to the room’s design and use.
Selecting Your Color Palette
Selecting the right colors is very important to make your splatter paint project successful. You can consider the following:
- Harmonious Colors: Choose colors that match what is already in the room, giving it a united front and making it look better. For instance, if blue and white are the primary colors, then different shades of these two, plus maybe gold or silver, can be used.
- Contrasting Colors: These should be used for visibility purposes if you want your splatters to be noticed easily from afar. A good example is having a bright-colored neutral wall where dark splatters are present since this creates an interesting pattern when viewed at close range.
Gathering Materials
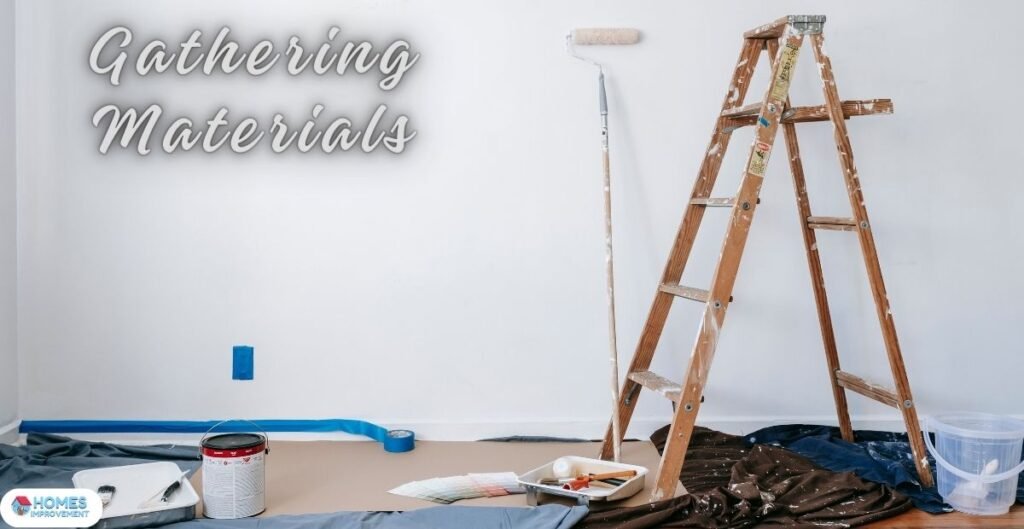
Essential materials include:
- Paint: Water-based or acrylic paints are recommended for easy use and quick drying. Choose high-quality paints to ensure vibrant colors and durability.
- Tools: Brushes, sticks, and sponges can create different effects.
- Material To Cover Your Floor: Protect your floors and furniture from getting dirty with splatter, so wear drop cloths or plastic sheets.
- Protective Parts: Wear gloves, goggles, and old clothes in case of paint splashes.
Preparing the Space
Protecting Surfaces
Before you start splashing paint everywhere, protecting your environment is necessary. Cover floors, furniture, and surfaces that shouldn’t be painted using drop cloths or plastic sheeting. Employ painter’s tape to protect trim work around windows and other areas you wish to remain clean. Ensure each furniture or item that cannot be moved is fully covered.
Prepping the Walls
To ensure good adherence and a finished design that looks smoother, even if needed, sand the walls down and prime them before splattering paint. Before you begin, fix any areas or cracks on the wall where the paint has chipped.
Testing Your Technique
Before starting your final surface, practice splashing the paint on a scrap piece of wood or cardboard. It will make you understand how the paint flows and also help you adjust your method accordingly. Test various tools and techniques for different effects.
Techniques for Paint Splatter
Basic Splatter Technique
- Dip and Flick: Soak a brush or stick in paint and flick your wrist to splatter the paint onto the surface, creating random and lively splashes. Try various flicking motions to change the size and direction of splatters.
- Drip and Drop: Load a paintbrush and let it drop on the surface. This method is suitable for larger, more dramatic splashes. You can also use a stick or spoon to control the drop more accurately.
- Spray and Splash: Use a spray bottle filled with diluted paint to create a finer, mist-like splatter. Adjust the nozzle for different spray patterns.
Advanced Techniques
- Layering Colors: Begin with one color and allow it to dry before adding more layers, giving your design depth and complexity. To create a more intricate pattern, layer different colors and vary the density of splatters.
- Mixing Tools: Use sponges, toothbrushes, or even your hands to experiment with textures and patterns. Every tool creates a different effect, enriching the design’s overall look.
- Directional Splattering: Direct splatters in a way that suggests movement or highlights specific areas in your artwork. You can lead the viewer’s gaze around the painting or towards particular points of interest by doing this.
Special Effects
- To add elegance to a room, you can include metallic or glitter paints in your spatter painting. These paints can reflect light and give the design more depth.
- Consider using glow-in-the-dark paint when doing a spatter for a creative touch that will surprise people. Paint is excellent for kids’ rooms and can create an atmosphere of nighUtilize stencils time.
- Suppose you want only your spatters to be stencils. Position the stencil on the surface, use your spattering method, and then take it away so only splats around a neat shape remain.
Applying Splatter Paint
Step-by-Step Process
- Prepare Your Paint: Dilute the paint with water for consistency. Finer splatters are created with thinner paint, and thicker paint creates more distinct splatters. To make sure everything is mixed evenly, stir the paint well.
- Practice First: Use a piece of cardboard or scrap wood to practice the technique and understand how the paint will behave. Based on what you find during your practice, adjust your approach accordingly.
- Start Small: Begin by making light splatters and gradually increase their intensity. It’s better to add more paint than to try removing excess. After the first layer dries, add another color for each subsequent layer.
- Vary Your Movements: Change the angles, speeds, and forces at which you make your movements so different shapes emerge. If you do this, the design might seem more uniform and varied.
- Take Breaks: Now and then, step away from what you’re doing to see if everything looks even and attractive from a distance. This way, you can evaluate the overall composition and make necessary adjustments.
Drying and Curing
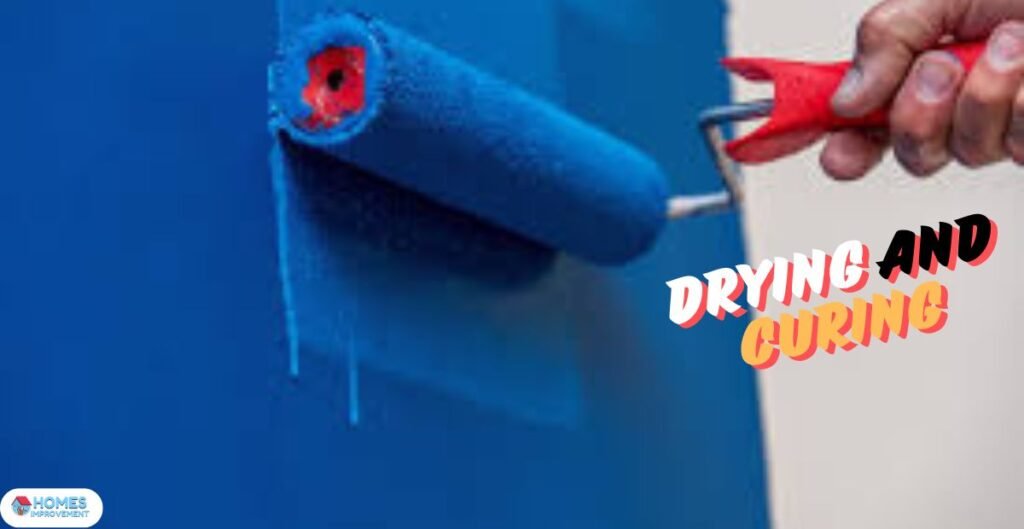
Let each layer of paint dry thoroughly before adding the next, which will keep anything from smudging and guarantee a neat, sharp result. When curing paint, consult the manufacturer’s instructions for various types of paint, as drying times may vary depending on the type. It is recommended to let acrylic paint dry for at least 24 hours before applying another coat or sealer, even though they usually dry fast.
Final Touches
Once your paint splatter design is finished and thoroughly dry, gently remove any masking tape so you do not peel away the paint. If there is any seepage of color under the tape, correct those areas. Apply an evident seal or varnish for protection, particularly in high-traffic areas and damp locations. It should be done after the design has dried completely.
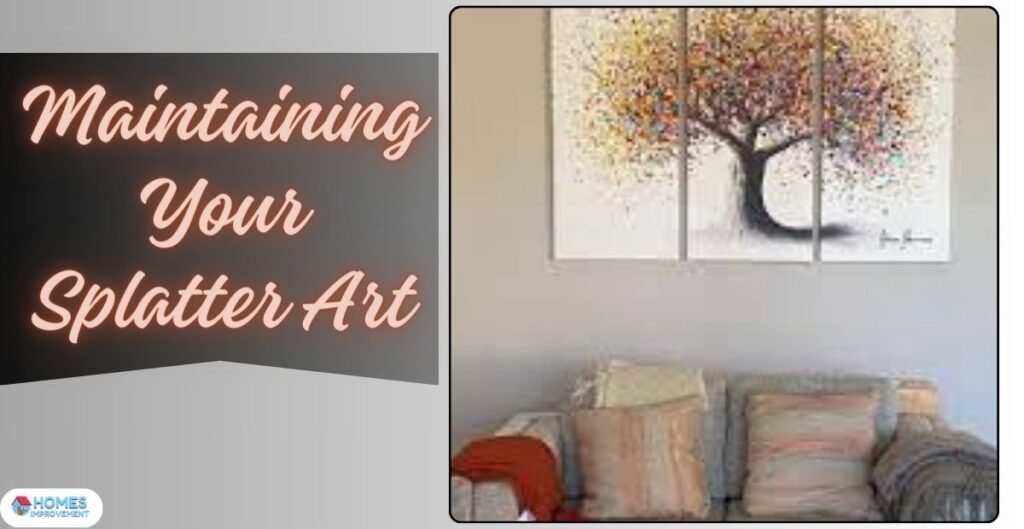
Maintaining Your Splatter Art
Cleaning and Touch-Ups
- Dust Regularly: Use a soft cloth or feather duster to remove dust and dirt from painted surfaces. Daily dusting helps to keep the colors stable and avoid dirt buildup.
- Spot Clean: Use a damp cloth with mild soap and water for stains or smudges. Avoid harsh cleaners that may damage the paint. Instead of scrubbing the spot, gently blot it to protect the paint finish.
- Retouches: Save some paint for touch-ups in the future. To cover any chips or scratches, use a fine brush to apply a small amount of it. Ensure the new paint matches the old one for an invisible repair.
Protecting Your Work
You’ll be good to go using a clear coat or varnish to safeguard the splattered paint against damage and tear. It is crucial for places people frequently walk on and where the surface might get wet. Ensure that the varnish you select goes well with the paint you use. Different preferences are catered for when it comes to finishes because you can choose from matte, satin, or gloss options.
Creative Ideas
Accent Walls
Make a wall in a room become the main thing using bright spotty paint splash. It can be in the living room, kitchen, or even bedroom. An accent wall separates an area, adds more things to look at, and makes people talk.
Furniture and Decor
- Chairs and Tables: Make the old furniture colorful again. It’s better to sand and prime the furniture before applying the splatter paint.
- Mirrors and Frames: You can add fun to your frames using a gentle splatter pattern, making the most straightforward frame look artistic and unique.
- Textiles: Use canvas or fabric to create unique pillow covers, curtains, or wall hangings. For washability and durability, you should use fabric paint in these projects.
Themed Rooms
Create a cohesive look by incorporating splatter paint into themed rooms. For example:
- Using dynamic and lively colors for a child’s room in this area will be helpful. Use spray paint and your favorite cartoon character stickers or stencils to enhance the room’s beauty.
- Studio: Painting one wall with various colors of splatter paint not only boosts creativity but can also serve as an excellent background for your artwork.
Seasonal Decorations
Get creative with paint splatter for seasonal decorations. Use it on Easter eggs, Christmas ornaments, and Halloween pumpkins to add a personal touch and homemade look to your holiday décor. Try different colors and themes that are associated with this time of year so that you may also create distinctively festive pieces.
Safety and Environmental Considerations
Safety Precautions
- Ventilation: Ensure you don’t inhale paint vapor while working on it. Open your windows wide and use fans to keep the air moving around.
- Protective clothing: For safety, gloves protect clothes that can get dirty or paint sprayed on, and goggles are used for eye protection against splashing paint.
Troubleshooting Common Issues
Not Even Distribution
To get even splatter, you can add more layers of paint. Before adding another layer, ensure the previous one has dried completely. Try out different tools and techniques until you achieve uniform coverage across the entire area.
Paint Dripping and Running
If the paint is too thin, you might experience dripping issues. As a result, thicker paint tends to drip less. However, consider these drips as part of the natural splatter process. Nevertheless, if such drips are unwanted, use a sponge or cloth to dab them away immediately.
Over-Splattering
If the splatter is too heavy, you can soak the extra paint using a clean cloth or sponge. You may also apply base color on top of some sections and restart the process. Ensure you are slow and steady until you achieve the right mixture.
Unwanted Splatters
Wipe off the paint or splatter it with a damp cloth immediately if it is wet. Touching the area with the base paint color may be necessary for dried splatters.
Expert Tips and Tricks
Experiment and Practice
Try out a variety of tools, methods, and color mixes. Work on disposable materials to develop confidence and improve skills. The more you do this, the more natural the splatter technique will feel.
Be Consistent
Try to keep the paint at the same consistency for even splattering. Experiment with different dilutions to see what works best for your project. Record these mixtures for future use.
Balance and Composition
Stand back every so often and evaluate the composition overall as it progresses. Ensure the splatters are evenly spaced, but don’t cram too many into one spot. Let your instincts guide you when deciding where to put them and how densely packed they should be.
Rehumanize
Make It Your Own
Integrate things into the splatter design, which reflects who you are. It could be your favorite color or some random pattern that fills you with delight every time you see it. When making these decisions, do not be afraid to get creative; this is meant to represent yourself.
Conclusion
Including color and creativity in your living space using paint splatter is fun and active. Every area can be changed into an exceptional and lively masterpiece by knowing the basics, carefully planning, and trying various methods.
This article is for everyone; if you have been doing this for some time now or are just starting, there are tips here to help make your splatter-painted home decorations stunning and reflect your style.
All you need is to prepare well before you start experimenting with paint. Best of luck
Frequently Asked Questions (FAQs)
1. Can any surface be painted with splatters?
Yes, including walls, furniture, canvas, or any decorative pieces that can fit your vision. However, depending on the material, the surface must be well prepared, and appropriate paint must be used.
2. What if I change my mind about the splatter effect?
Although this is a permanent technique, it can be removed from some surfaces using proper tools and methods. If you have splatter painted on your walls, they could either be covered with another coat of paint or sanded down and then primed afresh.
3. Are paint splatters safe for use indoors?
You should take necessary precautions while going about this activity inside your home, including wearing protective clothing such as gloves, goggles old clothes, etc.