By using rendering, everyone can see the colors, furniture, and layout in a way that makes it easier to understand the design concepts and make necessary changes.
This visual tool ensures that the result meets expectations and creates beautiful, functional spaces.
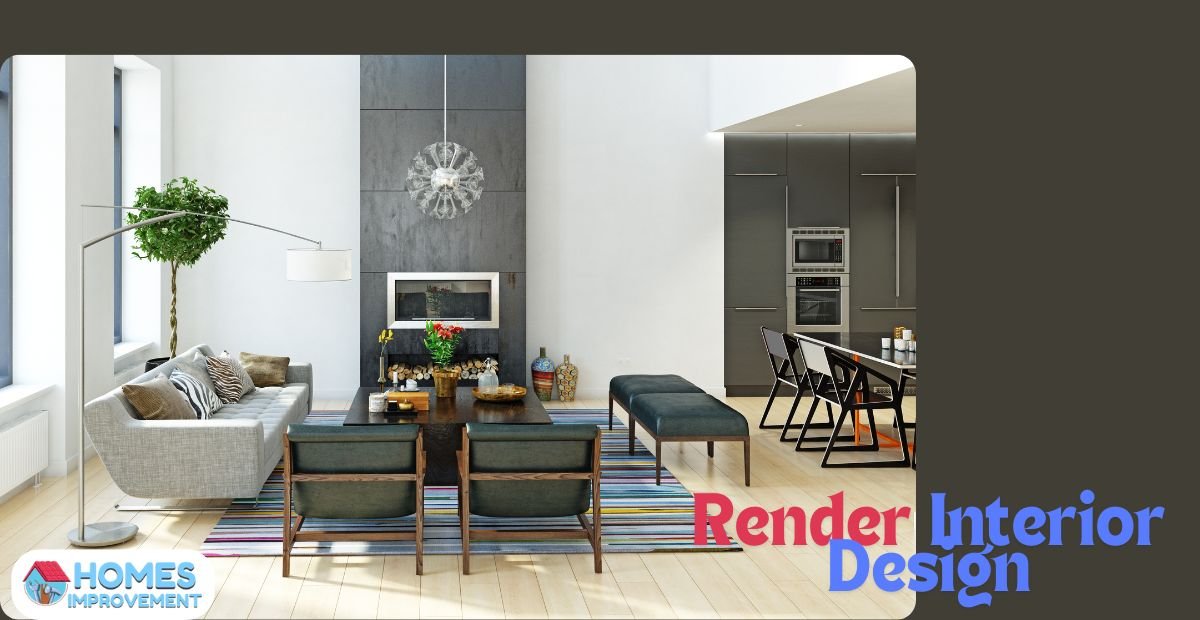
In this guide, we will learn ”How to Render Interior Design? ”
What is a Render in Design?
A render in design is a detailed computer-made image showing how a room or building will look when finished. It includes colors, furniture, and decorations, allowing designers and clients to picture the space. Renders help everyone involved in a project understand the design ideas and make changes if needed, ensuring the final result is right.
Types of Rendering Techniques (How to Render Interior Design?)
Rendering techniques can be broadly classified into two main categories: traditional and digital.
A. Traditional Rendering
- Pencil and Hand-Drawn Sketches: This method entails drawing pictures by hand with pencils or pens. When artists work through concepts, they can make quick edits and personal touches by sketching their ideas on paper. Before creating more intricate artwork, a designer can effectively communicate their vision through these sketches.
- Watercolour and Mixed Media: Using this method, artists add color and texture to their works by using watercolor paints or a blend of several materials. This gives the pictures more character and warmth, which makes them seem more welcoming. Markers, pastels, and collage components are examples of mixed media that can produce interesting visual effects.
B. Digital Rendering
- 3D Modeling Software: Designers can use computer programs such as SketchUp or 3ds Max to generate three-dimensional (3D) models of their area. These models may be altered by users to show how various components fit together, which aids in the comprehension of spatial relationships and design flows. A high degree of accuracy and detail is provided by this kind of representation.
- Rendering Engines: Designers frequently utilize rendering engines like V-Ray or Lumion to generate realistic pictures after generating a 3D model. By adding lighting, shadows, and textures, these tools improve the rendering’s visual quality and make it resemble a photograph in the end. Through this procedure, clients are able to see the finished space more clearly.
What Are the Essential Tools and Software for Interior Design?
Essential Tools and Software
There are a few software options that are particularly useful and easy to use in interior design. While SketchUp is well-known for being user-friendly for making 3D models, programs like AutoCAD are well-known for producing accurate 2D drawings. Other noteworthy programs are Adobe Photoshop, which is used for picture editing and presentation creation, and Revit, which is great for rendering and building information modeling (BIM). Every tool is essential to designers’ ability to successfully communicate their ideas.
Recommendations for Beginner to Advanced Tools
For beginners, starting with more accessible software like SketchUp or Room Sketcher can be beneficial. These resources provide user-friendly interfaces that make it easy for consumers to pick up fundamental design concepts without becoming overwhelmed. As they become more proficient, designers can go on to more complex software like AutoCAD and Revit, which include sophisticated functionality for intricate design work. Once users are acquainted with 3D modeling, it’s also beneficial for them to experiment with 3D rendering engines like Lumion or V-Ray, as these can improve the quality of their presentations.
Resources for Learning Software
To hone abilities in these software program applications, designers can take advantage of various online resources. Websites like Udemy and LinkedIn Learning offer publications tailor-made to one-of-a-kind skill stages. YouTube also hosts many tutorial videos that can guide users through specific techniques and features. Also, participating in forums and communities which include Reddit’s interior layout threads can provide help and insights from fellow designers, making the learning system greater attractive and collaborative.
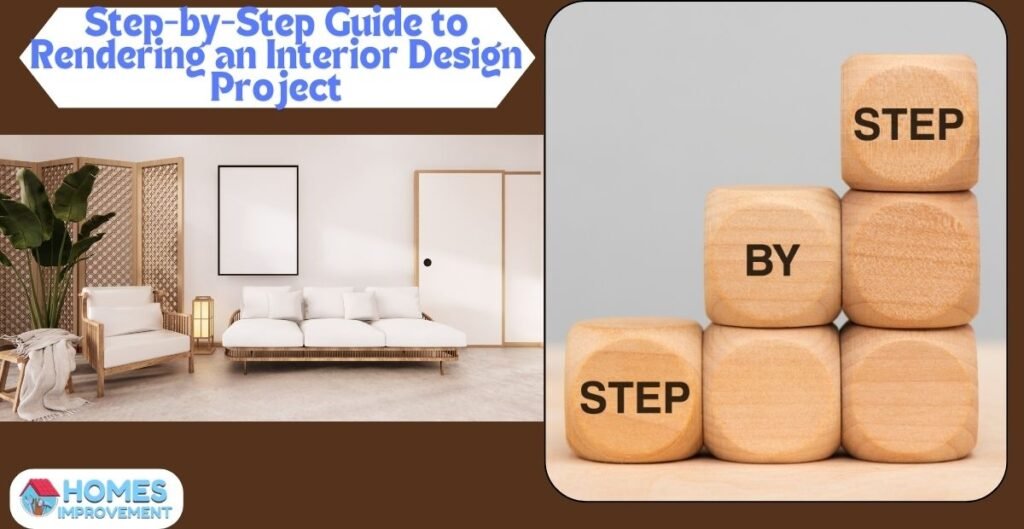
Step-by-Step Guide to Rendering an Interior Design Project
Concept Development
Gathering Inspiration and Mood Boards: Look for concept from magazines, websites, or social media. Create temper forums by means of collecting pictures and swatches representing the style and feel you need for your challenge.
Establishing a Design Theme and Color Palette: Decide on a imperative subject matter in your area. This could be whatever from cutting-edge to rustic. Choose a shade palette that compliments your subject, thinking about how distinctive colorations work together and the mood they create.
Sketching and Layout Planning
Creating Initial Floor Plans: Draw a basic layout of your space, including walls, doors, and windows. Make sure to measure everything accurately so your plan is proportionate.
Identifying Focal Points and Room Flow: Consider where you want to draw attention, like a fireplace or a piece of art. Design the room flow by ensuring enough space to move comfortably from one area to another.
Modeling the Space
Building the 3D Model: Use software program like SketchUp to create a 3-D version of your space. This permits you to look how the whole lot fits collectively realistically.
Adding Architectural Elements (Walls, Windows, Doors): Once your version is ready, add architectural features consisting of walls, home windows, and doorways. This step is important for buying a complete photo of the way the space will look.
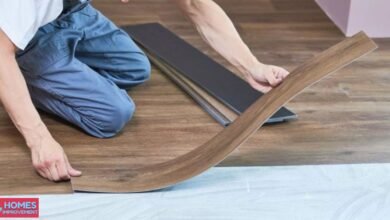
Applying Finishes and Textures
Selecting Materials and Finishes: Choose the substances you need for flooring, partitions, and furniture. Think approximately alternatives like wood, tile, or carpet.
Texturing Surfaces for Realism: Use textures in your model to make surfaces look realistic. This could involve adding patterns to wallpaper or visualizing the grain on wood.
Lighting Setup
Natural vs. Artificial Lighting Strategies: Consider how natural mild enters the space and how you may supplement it with artificial lights like lamps and overhead lights.
Placement of Light Sources and Shadows: Decide where to area every mild source and reflect onconsideration on how it will create shadows. This detail provides intensity for your design.
Final Rendering
Adjusting Camera Angles and Settings: Before rendering, move the camera around your model to find the best angles. Adjust settings to ensure your images look clear and vibrant.
Rendering the Final Image: Finally, use your rendering software to create the final image. This is the detailed picture that shows what your design will look like when completed, showcasing all your hard work.
Tips for Creating Effective Renderings

Understanding Composition and Perspective
The arrangement of elements in your image, or composition, is a crucial factor to take into account when rendering. A well-balanced composition aids in drawing attention to the key elements of your design. The use of perspective in an image allows you to convey depth; objects closer to you should appear larger, while objects farther away should appear smaller. You can add interest and realism to your representations by including these concepts.
Importance of Colour and Texture in Renderings
For your renderings to be visually appealing, color and texture are essential. Warm colors can make a room feel inviting, while cool colors can create a calming atmosphere. Surfaces with texture appear more detailed and resemble metal, fabric, or wood. By carefully choosing colours and textures, you can help others imagine what your design will really feel like.
Utilizing Feedback and Revisions for Improvement
One of the best ways to get better at what you do is to get feedback on your renderings. Get advice from professors, friends, and family, and pay close attention to what they have to say. Making edits in response to criticism can elevate an already excellent depiction to a remarkable level. Never forget that you may always make improvements to your design in order to make your final result even better.
Why Renders Are Important For Interior Designers
| Reason | Explanation |
| Visual Representation | Renders provide a clear image of what the finished space will look like, helping clients visualize designs. |
| Design Validation | They allow designers to test ideas and make necessary adjustments before actual implementation. |
| Communication Tool | Renders serve as a strong communication tool between designers, clients, and contractors to ensure everyone is on the same page. |
| Marketing Asset | High-quality renders can be used to promote a designer’s work and attract potential clients. |
| Efficiency | Creating a render can save time and resources by identifying design flaws early in the process. |
| Client Engagement | Engaging visuals make it easier to keep clients involved and excited about the project. |
Conclusion
To summarize, the rendering process entails a number of essential processes, such as obtaining ideas, creating layouts, modeling your area, applying finishes, and arranging lighting. Every step is essential to assisting you in painting a clear picture of your concept. Recall that you will get better the more you practice and try out various methods. You will advance as a designer if you don’t hesitate to attempt new things and take lessons from your mistakes. Keep pushing your creative boundaries!
FAQs
What software is recommended for creating 3D models?
A quantity of properly-liked applications are to be had for making three-D fashions, which includes SketchUp, AutoCAD, and Revit. It’s an excellent concept to research the strengths of each software program to determine which satisfactory fits your workflow and design aesthetic.
How long does it typically take to create a rendering?
The intricacy of the design and your degree of software proficiency will determine how long it takes to create a rendering. A simple rendering might take a few hours on average, but more intricate projects might take several days to finish.
Can I use my renderings for client presentations?
Absolutely! Using renderings to present your design concepts to clients is a great idea. They give customers a visual depiction that might aid in their comprehension of the suggested area and involve them in the design process.
What are some common mistakes to avoid in renderings?
Typical mistakes include using too vibrant or unrealistic colorations, ignoring scale and proportions, and failing to take lights and shadows into account. To find possibilities for improvement, constantly do a important exam of your work and ask for remarks.
How do interior designers render?
Interior designers build a practical and detailed depiction of a room through the usage of 3-d modeling software program. To create a high-quality visible, the technique generally entails sketching initial ideas, developing a 3-D model, including substances and textures, arranging lights, and rendering the picture.
How do I create a design render?
Choose a three-D modeling program that first-class fits your desires before starting to construct a layout render. Start by way of outlining your ideas and building a basic blueprint for the location. Next, provide the dimensions and geometry of your factors to create a 3-d model. To create the illusion of actual-global finishes, upload materials and textures, arrange lighting fixtures to create a temper, and trade digicam angles to discover the maximum visually alluring views. Lastly, create the final image using the software’s rendering features.
Which render is best for interior design?
The finest rendering software for interior design varies depending on the needs of the project and personal preferences. Well-liked choices include Lumion for real-time rendering, 3ds Max for sophisticated rendering tools, and SketchUp for its intuitive user interface.