Pole barns are a popular choice for various applications, including agricultural garages, workshops, and even homes. One of the main reasons people choose pole barns over conventional homes is their exceptional ease of use and cost-effectiveness. The gadget of build The method of creating a pole barn involves several steps, starting with meticulous planning and finishing with final touches. Every step, from selecting the precise substances to laying the foundation, shaping the form, and including siding and roofing, plays a crucial role in ensuring the durability and practicality of the barn. This manual will guide you through building a pole barn, providing you with the necessary information to successfully tackle your venture.
The first step in pole barn manufacturing is making plans and designs. Before beginning, you should determine the barn’s scale, layout, and intended purpose. Drawing up an in-depth plan, thinking about close-by constructing codes, and amassing the crucial substances are key to the venture’s success. Once your plans are in place, you can move on to the next step, which involves digging post holes and pouring concrete to securely anchor the posts in the ground. After setting the posts, the next step involves framing the form, installing roof trusses, and adding siding and roofing materials. Finally, you can set up doorways, home windows, electric wiring, and insulation, making sure that the barn meets your dreams. By following this methodical way, you can assemble a pole barn that is both purposeful and long-lasting.
Planning and Design
Before beginning any production challenge, planning is fundamental. When it involves pole barn production, the first step is to determine the purpose of the barn. Consider the scale, style, and the materials you need to apply. Create a complete plan in your pole barn, along with the primary shape, the form of the partitions, the pitch of the roof, and any extra functions such as windows, doors, or insulation. Once you have a format in mind, ensure your plans comply with all relevant production codes. If you are unsure about the layout or dimensions, consider looking for recommendations from an expert that will help you finalize your plans.
Gathering Materials
The subsequent step in pole barn creation is collecting the essential substances. For a basic pole barn, the necessary materials may include wooden posts, pass beams, metal or wooden siding, and roofing material. Since the posts will be in contact with the ground, you should treat them to resist decay. Depending on your layout, you’ll also need concrete for post placement, screws or nails for beam securing, and other essentials such as insulation, windows, and doorways. Make sure to accurately measure the materials, primarily based on your design plans, to prevent over- or under-ordering.
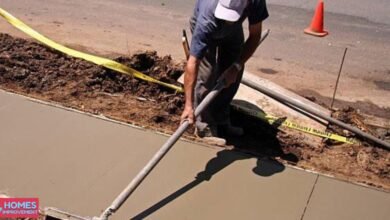
Setting the Foundation
A strong foundation is important to the stability and durability of your pole barn. Pole barns, unlike conventional homes with concrete slab foundations, rely on vertical posts buried within the floor. Begin by marking the locations in which your posts will be located, making sure they’re evenly spaced. Use a posthole digger to create holes deep enough to soundly anchor the posts. After organizing the holes, place the wooden posts with handles inside them and pour concrete to secure them. Allow the concrete to cure before transferring directly to the subsequent step, as this guarantees the posts are strong.
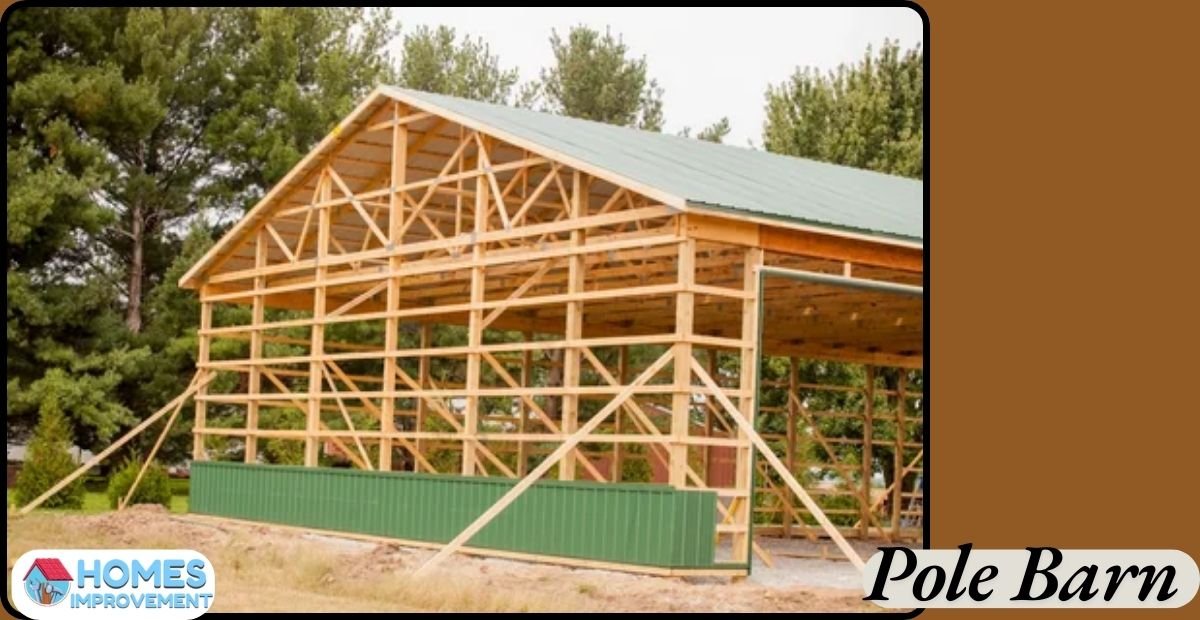
Framing the Structure
After securing the posts in the floor, the next step is to outline the shape. This involves attaching horizontal passbeams between the vertical posts and developing the framework for the walls and roof. With help, install bottom and top beams around the barn. Next, place additional beams in the middle to provide more support. Make sure to stage and align each beam properly. The framing should be rectangular and robust enough to support the weight of the roof and siding materials. This step serves as the foundation for the entire structure, so accuracy is crucial.
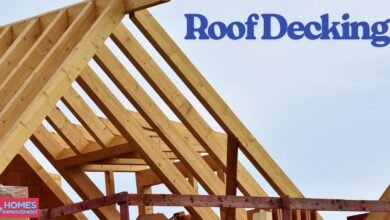
Installing the Roof Trusses
Roof trusses are an essential part of pole barn production. These triangular structures provide the necessary support for the roof. Start by installing the trusses throughout the top of the framed shape. Space the trusses lightly, following the spacing hints provided in your layout plans. Use screws or nails to secure the trusses in the designated area, ensuring their alignment and levelness. Depending on your layout, you may also want to install purlins, which are horizontal beams that aid in roof overlays. Check the structural integrity of the roof trusses before proceeding.
Adding Siding and Roofing
Once the trusses are securely in place, it’s time to install the siding and roofing fabric. You can make the siding of a pole barn from diverse substances, along with metallic panels, wood, or vinyl. People often favor metal because of its durability and ability to protect against coffee stains. Start by attaching the siding fabric to the framing, ensuring each panel overlaps the preceding one to prevent water leakage. Metal panels are a common choice for the roof, but you can also use shingles or other materials, depending on your preferences. Work your way from one side to the other to install the roof panels, ensuring each panel is firmly in place.
Installing Doors and Windows
Once the roof and siding are whole, you could focus on putting in the doorways and domestic windows. The type of doors you choose will depend on the intended purpose of your pole barn. Roll-up doors are commonly used for agricultural barns, while traditional swinging doors may be more appropriate for smaller storage barns. Choose durable materials for your home windows that can withstand the elements. Install the home windows and doorways in keeping with the format plan, making sure they are square, angled, and securely fixed. This step enhances the capability of your pole barn and allows for proper airflow and smooth entry.
Electrical and Insulation Installation
If you intend to raise livestock or use your pole barn as a workshop, you may want to put in electric wiring and insulation. You can mount electric wiring within the framing to make certain of safety and performance. You can run wires for lighting fixtures, stores, and other electric-powered needs. Insulation facilitates regulating the temperature in the barn, maintaining it hotter in iciness and cooler in summertime. Spray foam insulation is a famous choice for pole barns due to its superior insulation. After finishing the electric and insulation work, you could proceed with the finishing touches.
Final Touches and Cleanup
The final level of pole barn creation entails including any finishing touches and cleaning up the worksite. This includes painting the exterior if desired, trimming around doorways and home windows, and sealing any gaps or cracks to ensure the shape remains hermetic. Make sure to remove any leftover particles, such as wood scraps or nails, to maintain a stable and tidy worksite. Additionally, you should consider landscaping the area surrounding the barn to enhance its appearance and functionality. Once everything is ready, you can start preparing your pole barn for use.
Conclusion
In the end, constructing a pole barn can be a worthwhile and sensible mission. Whether you’re looking for an extra garage space, a safe haven for farm animals, or a workshop, pole barn manufacturing offers a cost-effective and environmentally friendly solution. Follow the step-by-step guide in this newsletter to confidently tackle your pole barn creation project. From planning and layouts to final touches, each step guarantees that your barn may be sturdy, realistic, and constructed to the ultimate. With the right materials, system, and interest inside the element, your pole barn will serve you well for future years. Happy constructing!
FAQs
How long does it take to build a pole barn?
The time it takes to build a pole barn varies, depending on the size and complexity of the layout. Typically, the completion of a pole barn creation assignment can take anywhere from a few days to several weeks.
Can I build a pole barn without a permit?
In many regions, a permit may be required for the development of a pole barn. It’s important to speak about the requirements in your specific region along with your close-by production department before starting off manufacturing.
What is the cost of building a pole barn?
The fee of constructing a pole barn depends on various factors, together with its length, format, materials, and labor necessities. Generally, the cost of constructing a primary pole barn ranges from $5,000 to $15,000 or more.
Do I need to hire a professional for pole barn construction?
While a few DIYers can effectively construct a pole barn, it’s regularly beneficial to hire a professional if you’re uncertain about the development system. An expert will assure the safe and code-compliant construction of the barn.